Steampunk canvas for ScrapFX

Hello,

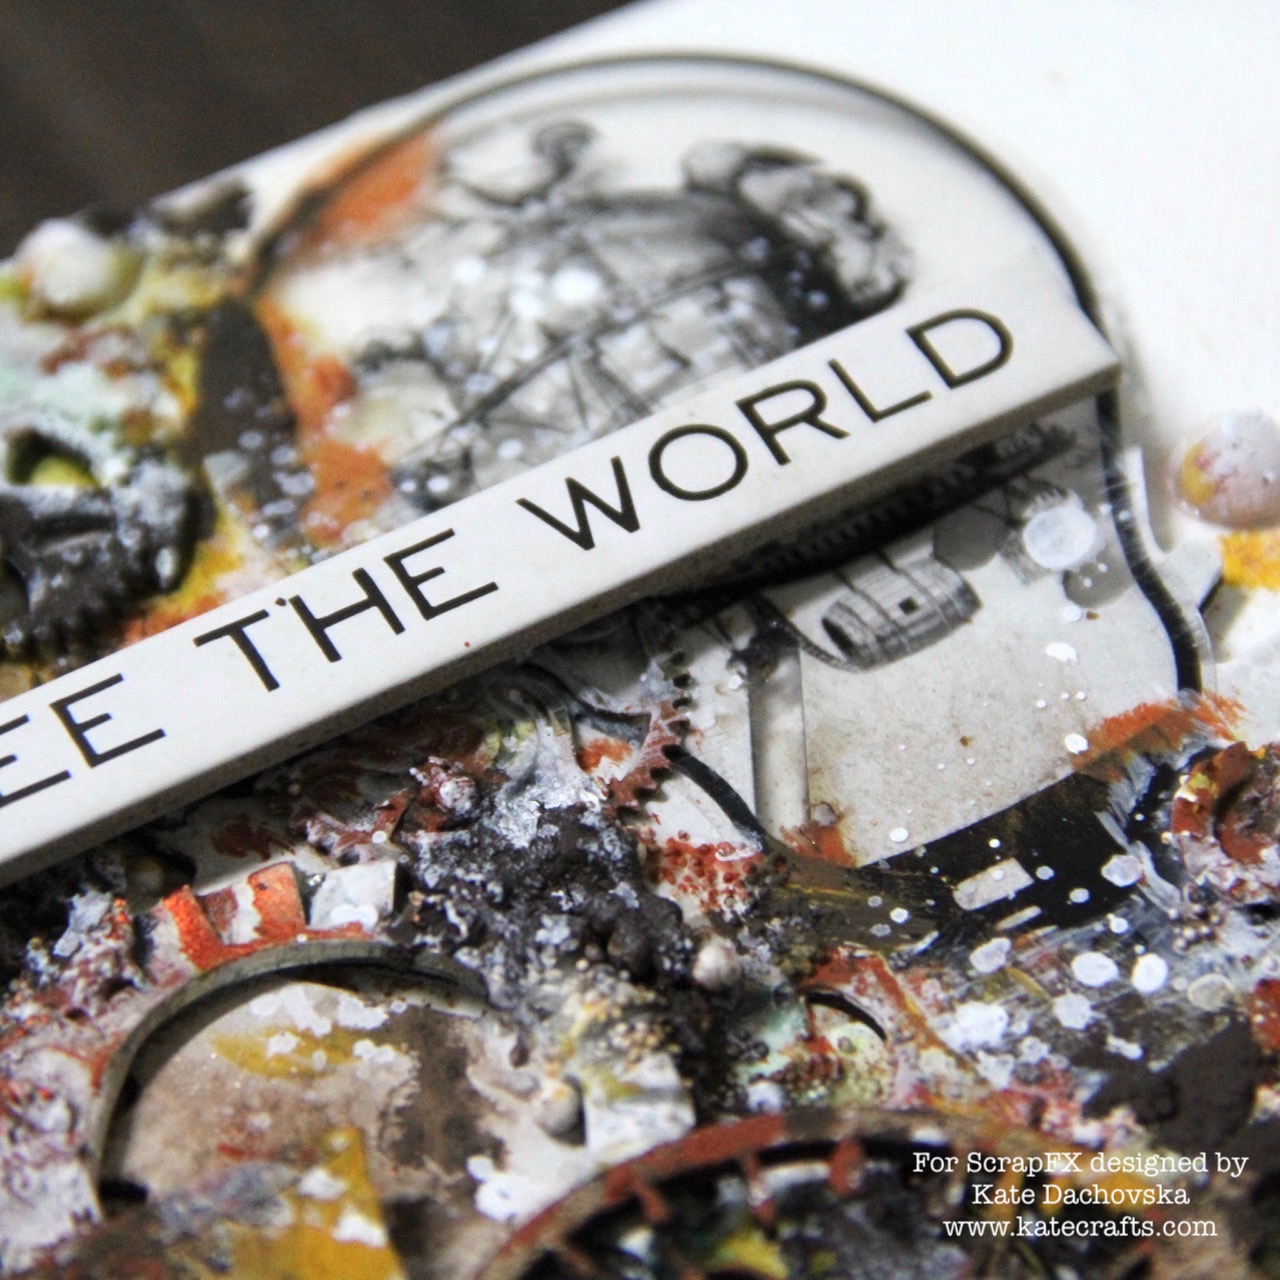
This canvas was really challenge for me because I never did steampunk canvas. I had that photo (source Freepik) quite long time and new release for January was great to start with steampunk crafting. It is not complicated project. The first layer as usually is white gesso, than I applied structure paste through new stencil. Than I glued different embellishments and art stones which made awesome structure. I did some stamping and the main part was playing with Tattered Angels Glimmer mists in combination with pastes from Finnabair – Rust paste. Final splatters are made with Ecoline white watercolour and sentiment is by Tim Holtz. Whole list of material is at the end of my blog post.

Have a nice day

Kate Dachovska

Material:

Geometry Stencil

Tangled Gear Stamp

Light Bulb Transparency

Steampunk Octopus

Acessory Cogs

Prima Marketing – Heavy Gesso, Matt Gel, Rust effect paste, Waxes, Modeling paste

Glimmer mists by Tattered Angels – It`s brown, Dijon, Dragonfly

white Ecoline watercolour

Snow layout for Cherish the Memory

Hi,

I would like to share with you easy layout which I created with Studio Light die cuts. I die cut squares for background and than I built layers with die cuts. I also die cut snowflakes from white card stock. As final touch I added with snow pen details. And beacause it is winter layout I added some self adhesive gems.

lo_snow - 1

lo_snow - 2

lo_snow - 3

lo_snow - 4

lo_snow - 5

lo_snow - 6Have a nice day

Kate


Colourful pouch for Colourcraft

Hi,
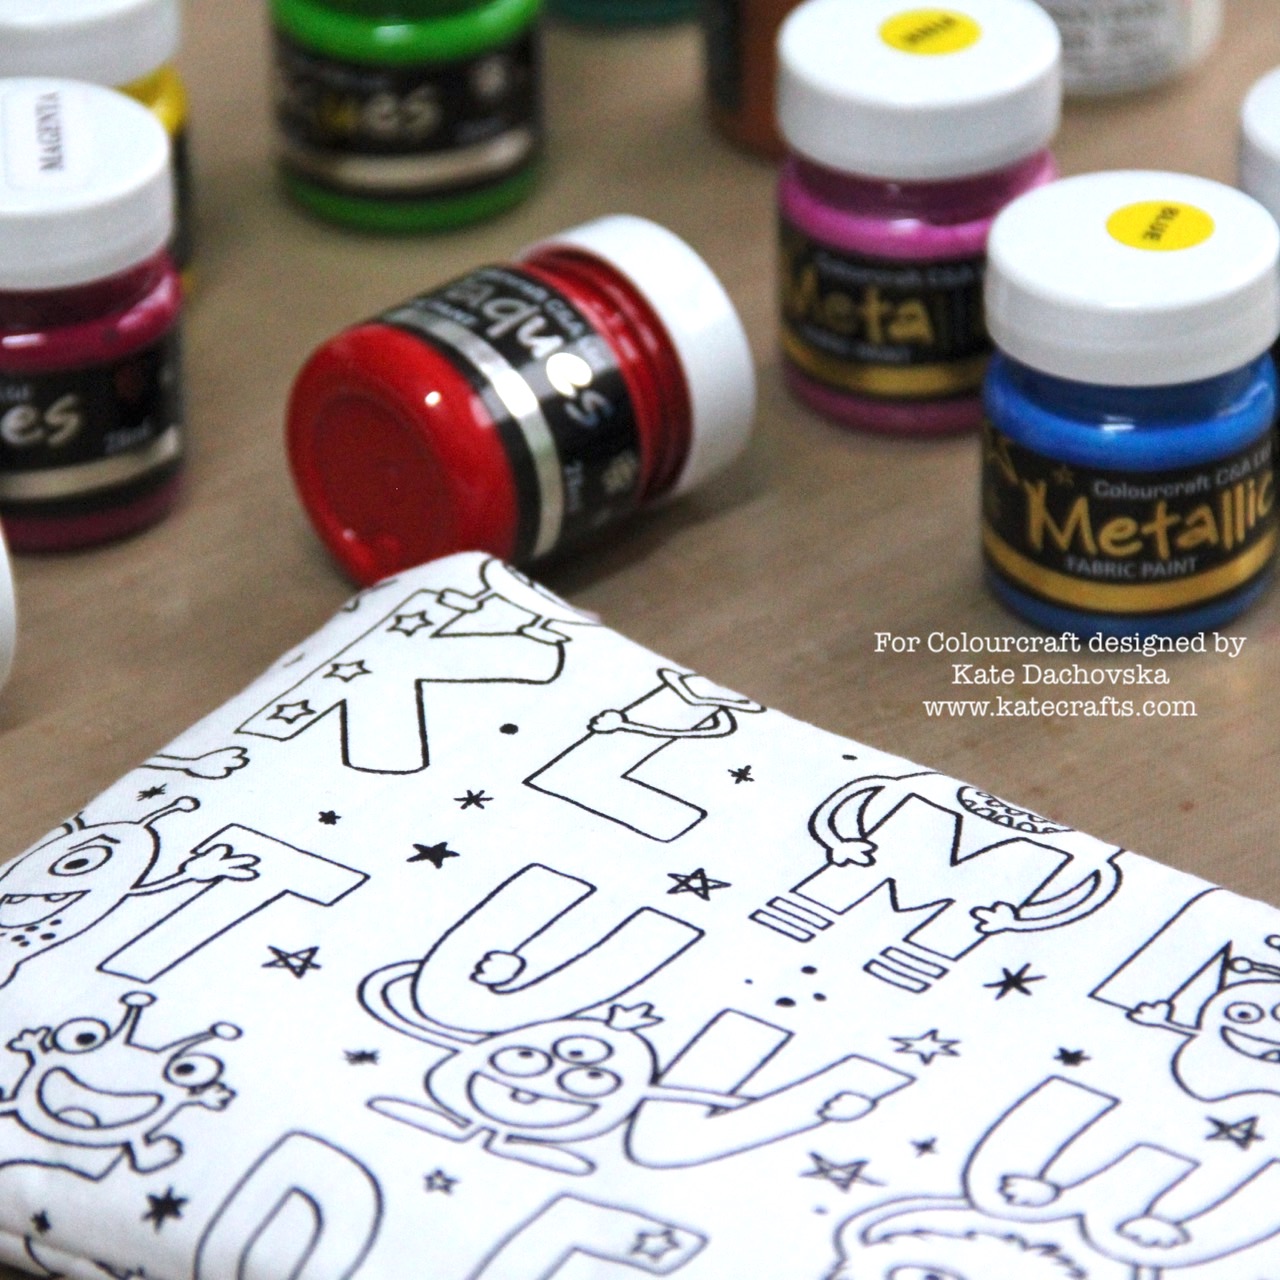
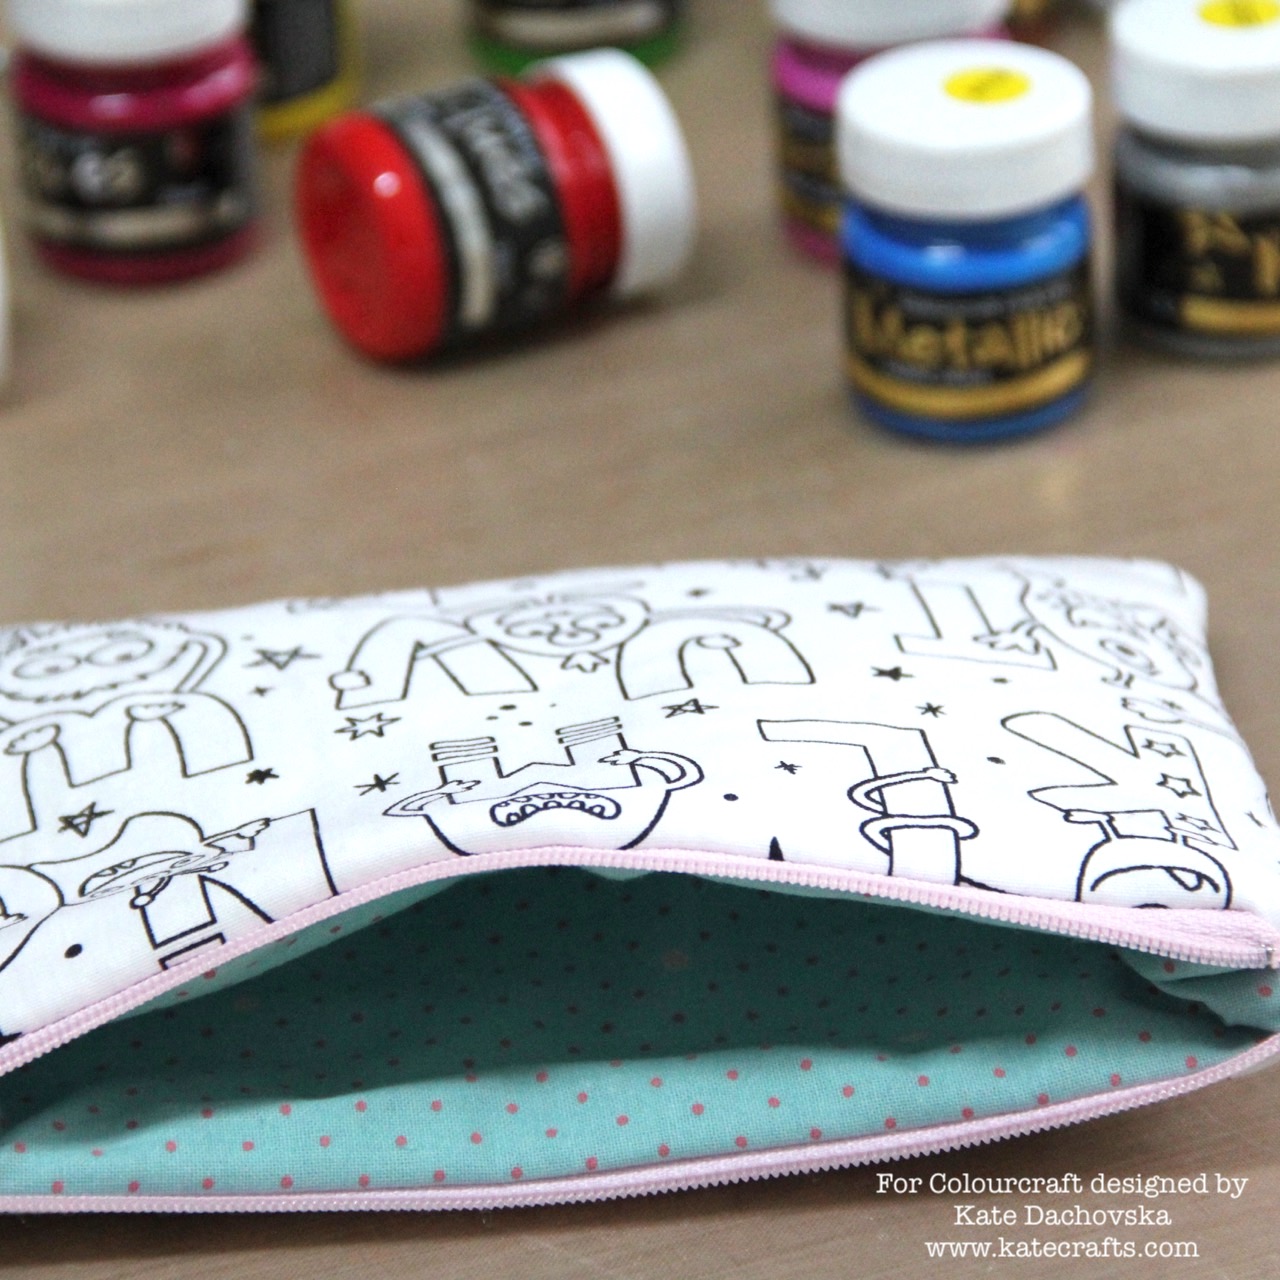
this is my first blog post in 2018 and I decided that we need something colourful. Not all of us love long cold winter so lets have some fun with fabric paints and many colours.
For my project I took fabric pouch which sew my friend Jana. She used funny fabric which you can colour. So I took all fabric paints which I have at home and I coloured it. It is very easy project which you can do with you children, some letters were coloured by my 9year old son Toby too. I used both series of fabric paints – for letters I used opaques and for funny ufo boys I used metallics.
Have a nice day
Kate


Valentine cards for Pink and Main

Hi,

HAPPY NEW YEAR TO ALL MY READERS !!! 🙂

I am today with another Valentine cards. Fun is that here in Czech Republic we do not celebrate Valentine day 🙂 but I love to make valentine cards.

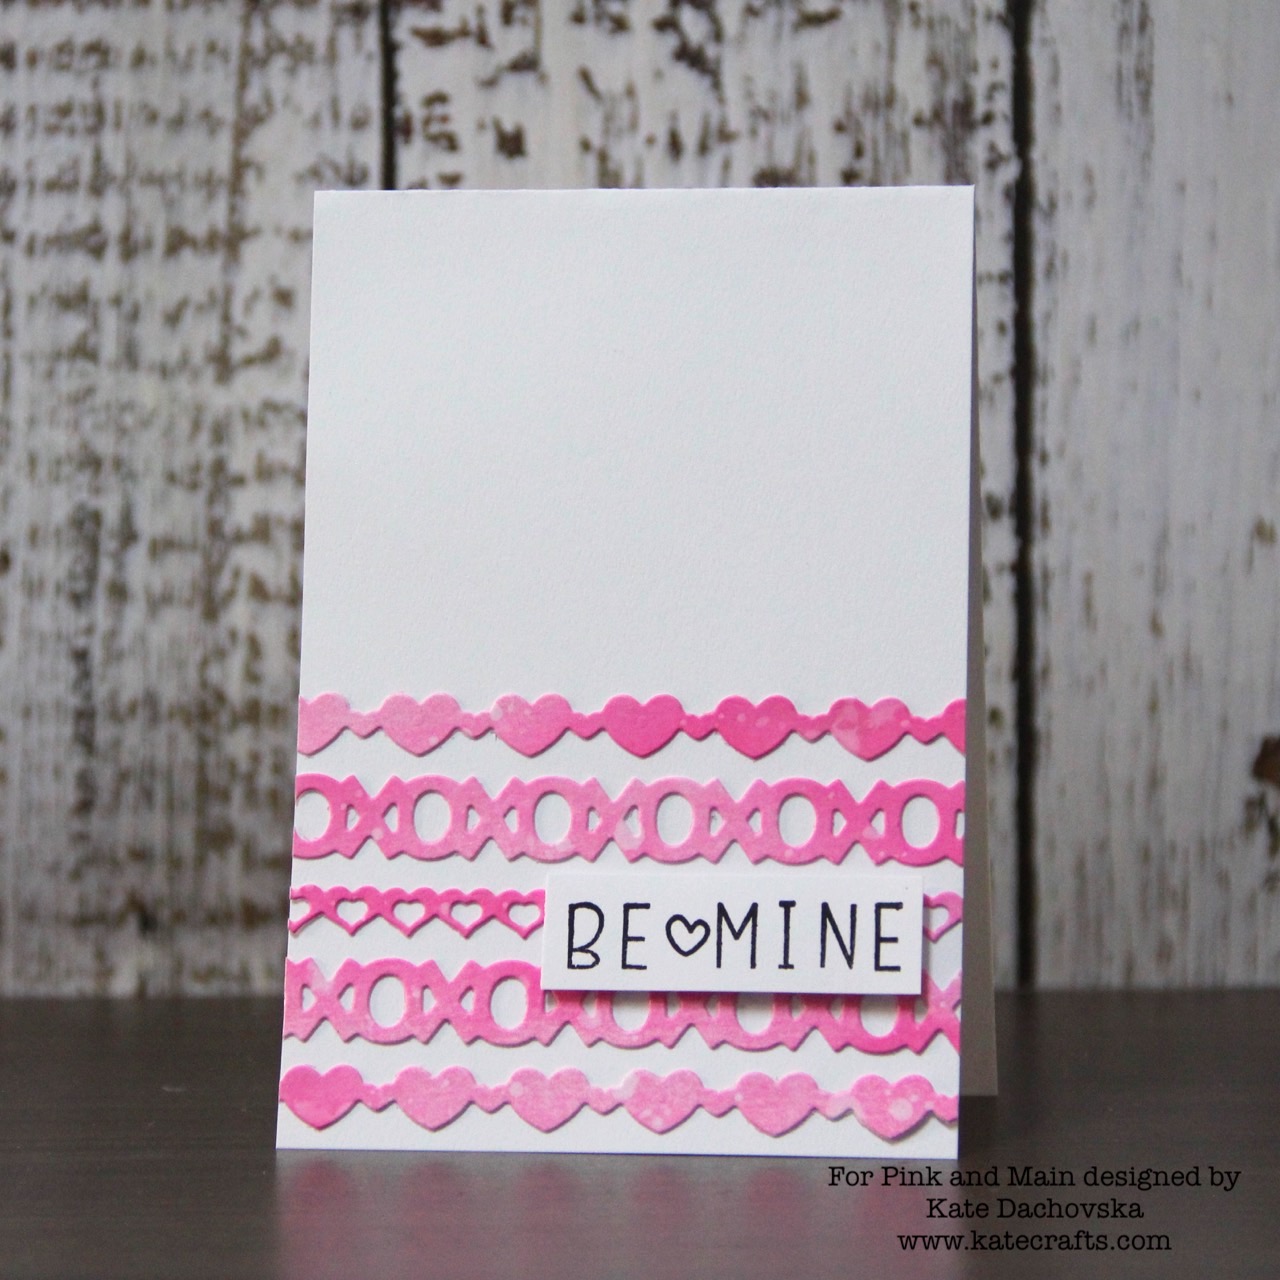
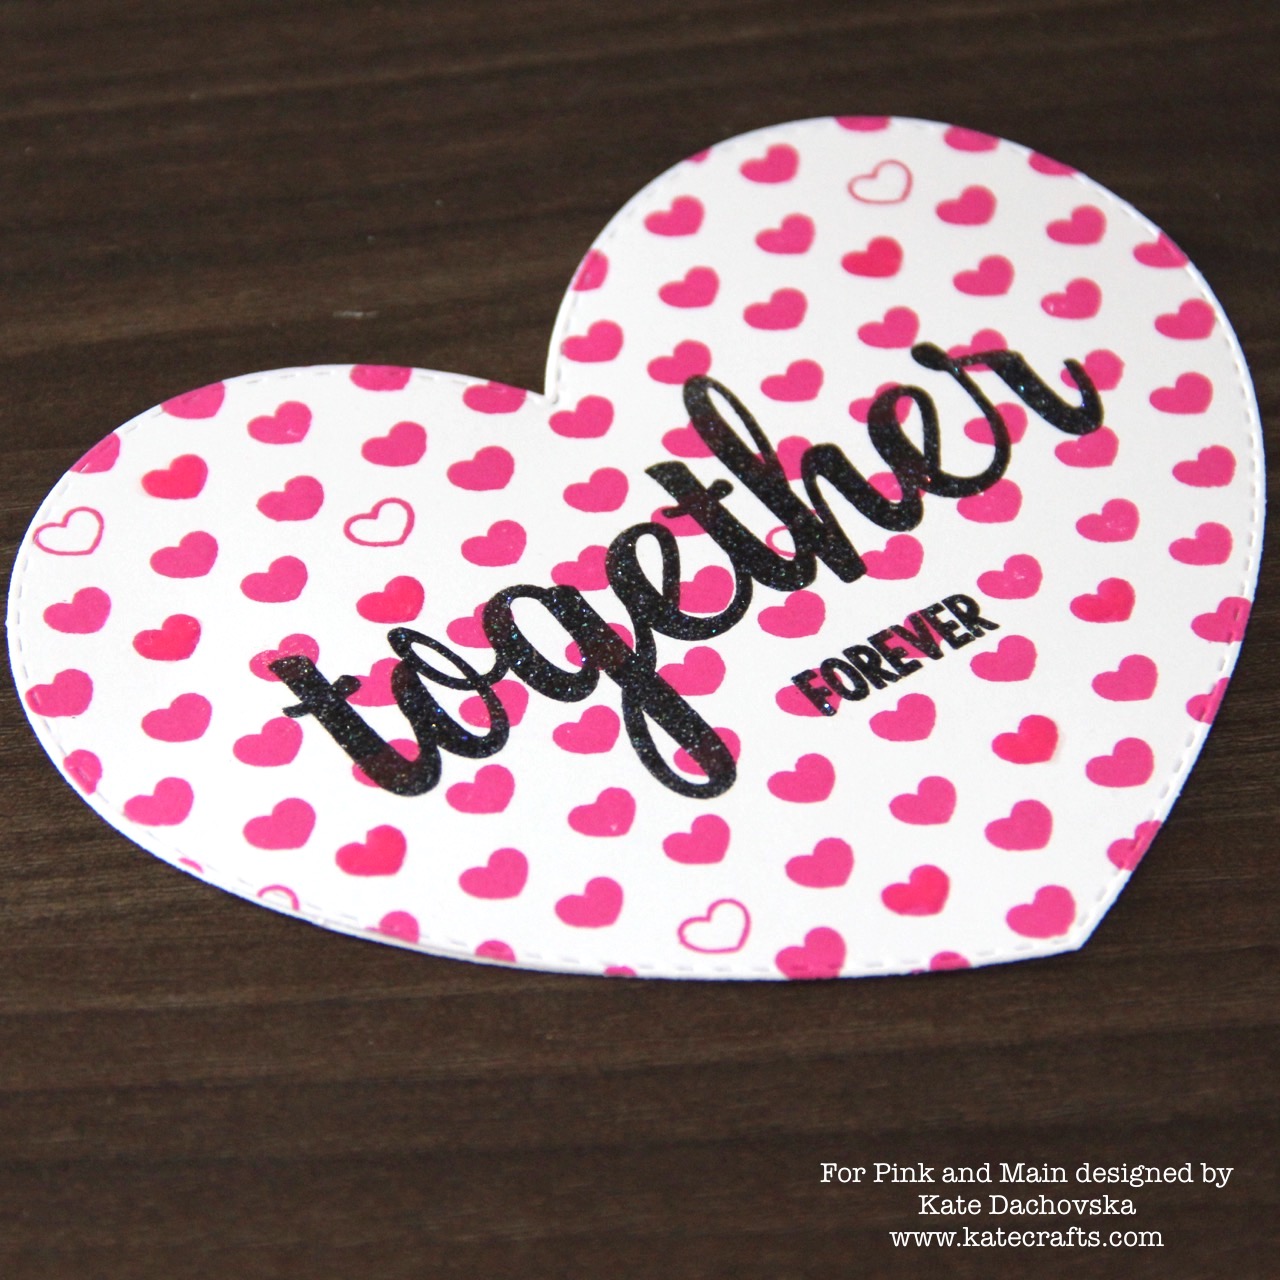
My first one is shaped card. I took white card stock and with Boutique Surface Ink Pad I stamped Polka Hearts. Than I took the biggest heart from Double Stitched Heart Dies and I die cut heart. I die cut heart also from white card stock to prepare my no card. I glued on piece in the “corner” of heart both hearts together. I took Together Forever stamp set and I stamped sentiment Together with Versa Fine Onyx black ink and I heat embossed it with sparkle clear embossing ink. I am sorry it is not so visible on photos but sentiment has got lovely sparkling colour. Than I stamped Forever and I add glossy accents to some hearts.


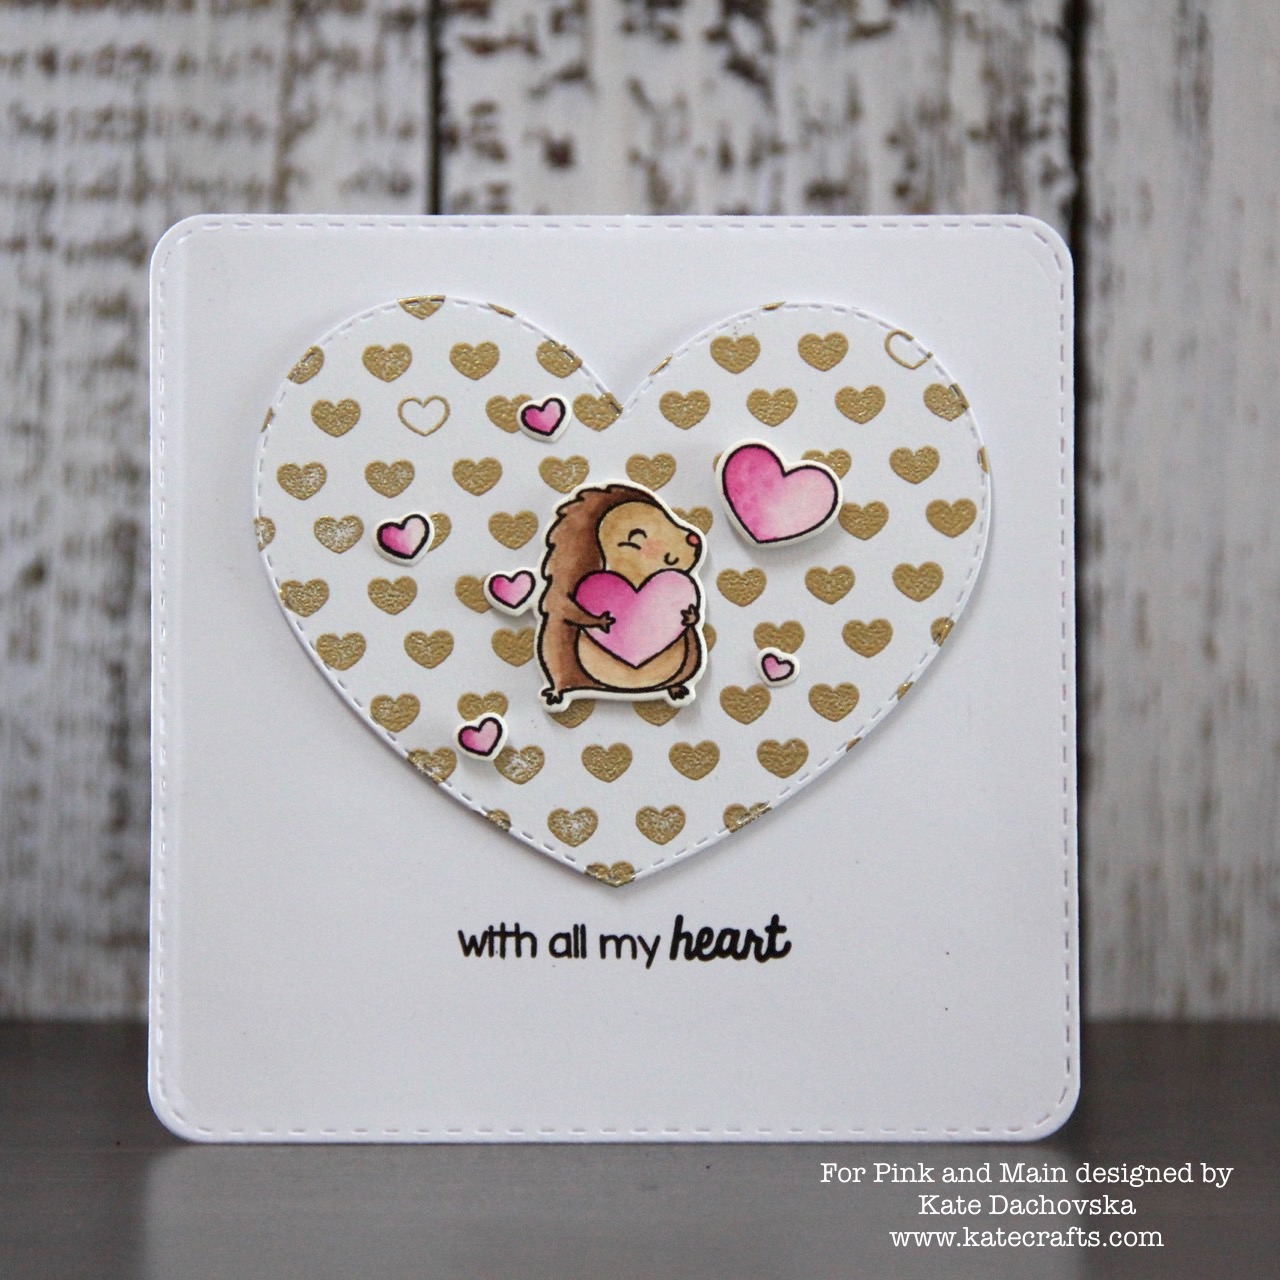
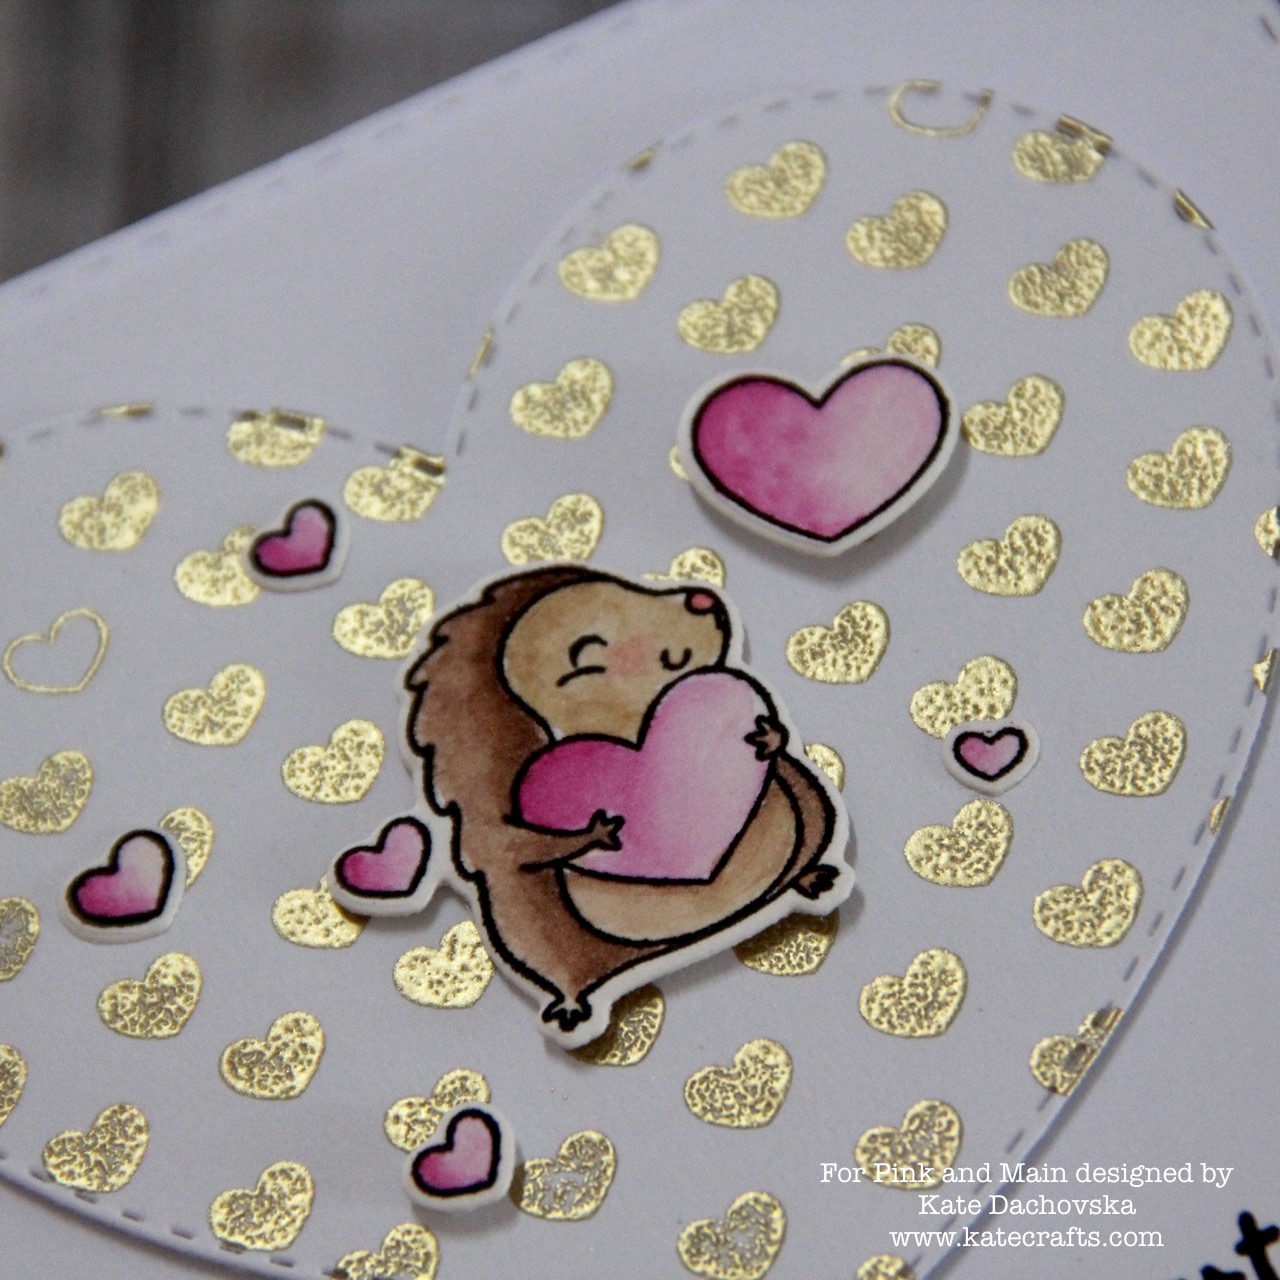
My second card is quite clean and simple. Base is white card stock from which I die cut square with Stitched Rounded Square Dies. Than I stamped with WOW embossing ink hearts Polka Hearts and I heat embossed it with gold embossing ink. I cut heart from embossed paper –  Double Stitched Heart Dies . With 3D foam squares I glued heart on my card base and I stamped sentiment. Finally I took watercolour paper and I stamped hedgehog  I used Hedgehugs stamp set and I coloured images with Winsor Newton watercolour marker and I die cut them with Hedgehug Dies. I glued images with 3D foam squares.

Have a nice day

Kate Dachovska