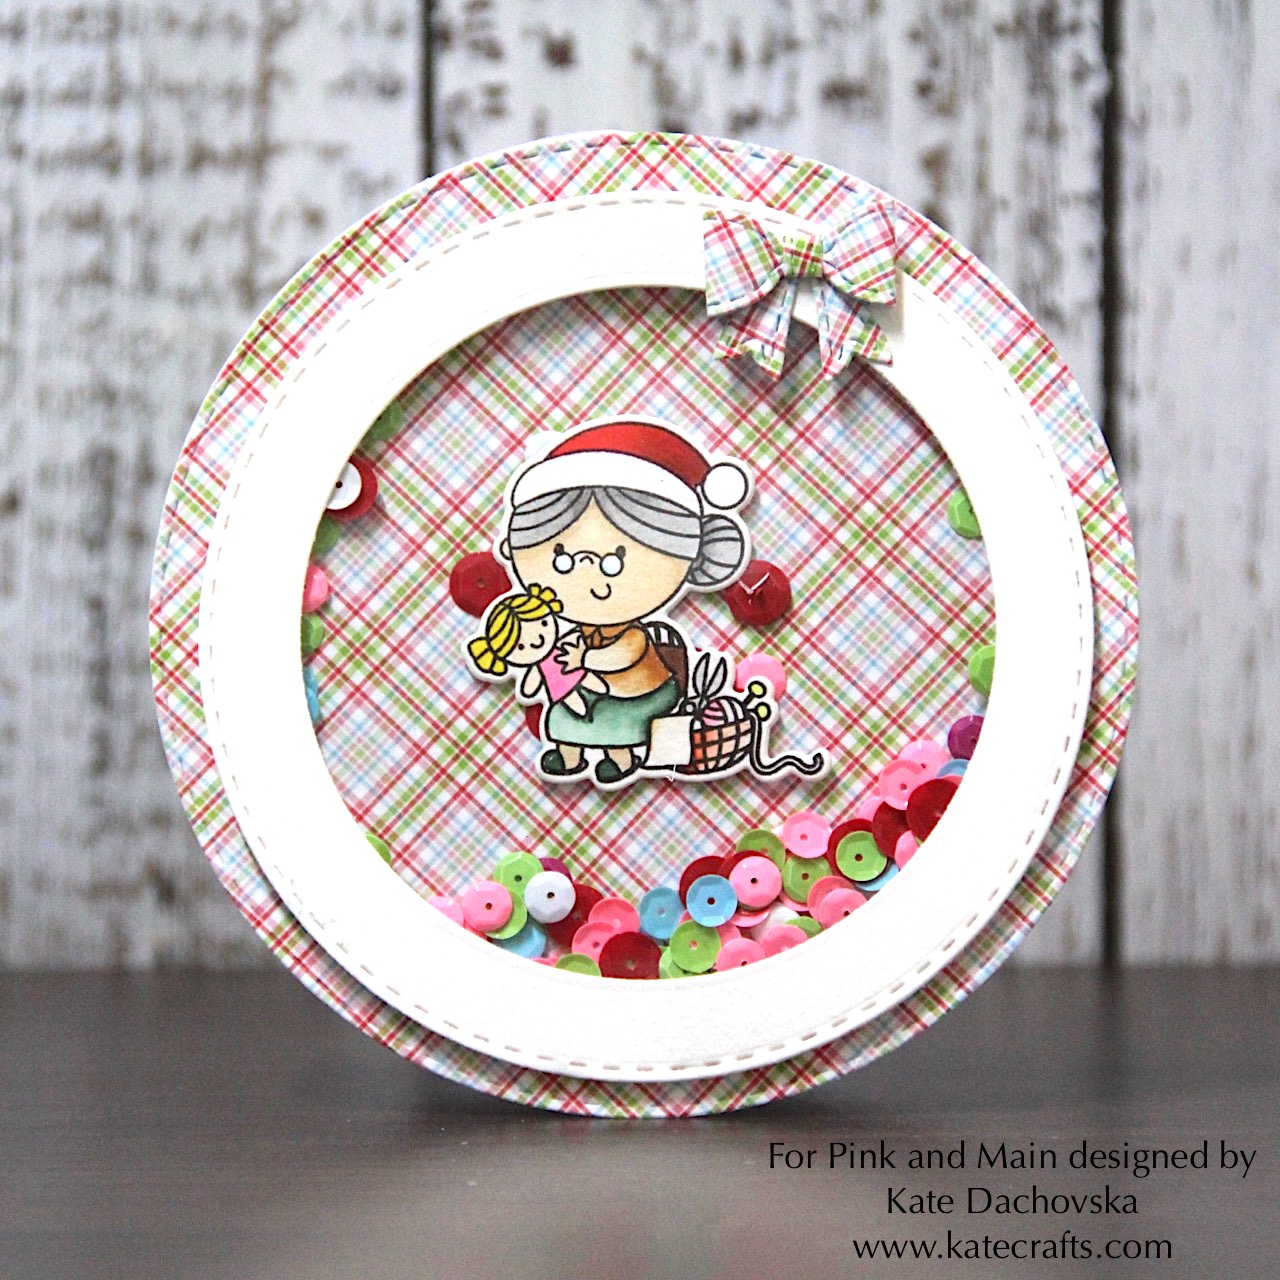
Shaker card for Pink and Main.

Hi,

I am here with another Christmas card inspiration. For today I created shaped shaker card. I used – Jolly 6×6 paper pad and

Nice List stamps and Nice List Dies. Images are stamped with Versa fine onyx black and coloured with Kuretake Clean Color Real Brush markers. For my shaker card I used different sequins which I found in my stash. And of course I used my favourite Stitched Circle Dies.

For final touch I made tiny bow with Small Bow Dies. 


Have a nice day

Kate Dachovska

Cute bear cards for Frantic Stamper


Hi,

I would like to share with you two cute bear cards which I made for Frantic Stamper. Bear image is my own I draw it for myself and my friend made stamp from my image.

I worked on watercolou paper, with Versa Mark I stamped background stamp – new release by FS – FRA-CLG-B032 Handwritten and I heat embossed it with Stampendous white detailed  embossing powder. Than I coloured background with Gansai Tambi watercolours – I choose the same colour as I used for colouring images. I die cut 2 frames – FRA-DIE-10290 Rectangle Tangled Frames and I glued images with 3D foam tape.

Kate - 4

Kate_B032_10290_nr2

Kate - 7

Kate B032_10290jpg

Kate - 6Have a nice day

Kate


Christmas cards for Cherish the memory

Hi,

I would like to share with you my easy christmas cards which I made for Cherish the memory –  I used awesome Studio Light die cut blocks. This time I used as a no card KRAFT material and I love how it look like together with die cuts. If you do not like to sweet romantic cards use kraft base this will make you card more “natural” looking. These card are very easy I just layered different die cuts. You can play with them in many ways and layer them or cut them in half, colour them. It is just up to your fantasy.

kraft - 1

kraft - 2Have a nice day

Kate


Chrismtas layout for ScrapFX

Hi,

I love days before christmas because christmas crafting is so great fun. Today I have for you one christmas layout. It is easy mixed media layout with stunning chipboards. There is my son Toby in front of our christmas tree, I took this photo year ago.

Here are steps:

  1. I applied over whole page clear gesso (Pebeo) to prepare page for more layers.
  2. Trough stencil I applied awesome ExpandIT paste and I activated it with heat tool – it will start to grow and make bubbles and it is awesome! You can see it at one detailed photo.
  3. I stamped script stamp here and there with brown archival ink and I stamped also ScrapFX stamp – tiny stars just here and there to add interest to background.
  4. I applied over stencil my favourite Vintage photo Distress oxide ink, than I added some splatters with Shimmer gold acrylic Brusho spray and I glued gold tiny dots. That is all for background.
  5. From different scrap papers I made cluster behind photo and I glued it on page, I glued photo too.
  6. I die cut poinsettias from gold paper and bigger poinsettias from cream paper.
  7. I sprayed all chipboards wtih Brusho shimmer gold acrylic spray.
  8. Final step is to glue everything together – chipboards and poinsettias.

ScrapFX chipboards

Poinsettia frame

Doodled star stamp

The magic of christmas


lo_xmas - 1

lo_xmas - 2

lo_xmas - 3

lo_xmas - 4

lo_xmas - 5

lo_xmas - 6

lo_xmas - 7Have a nice day

Kate