My big hobby is sewing and I am author of many PDF patterns for sewing toys. Not in english yet. But soon. I am working on translation 🙂
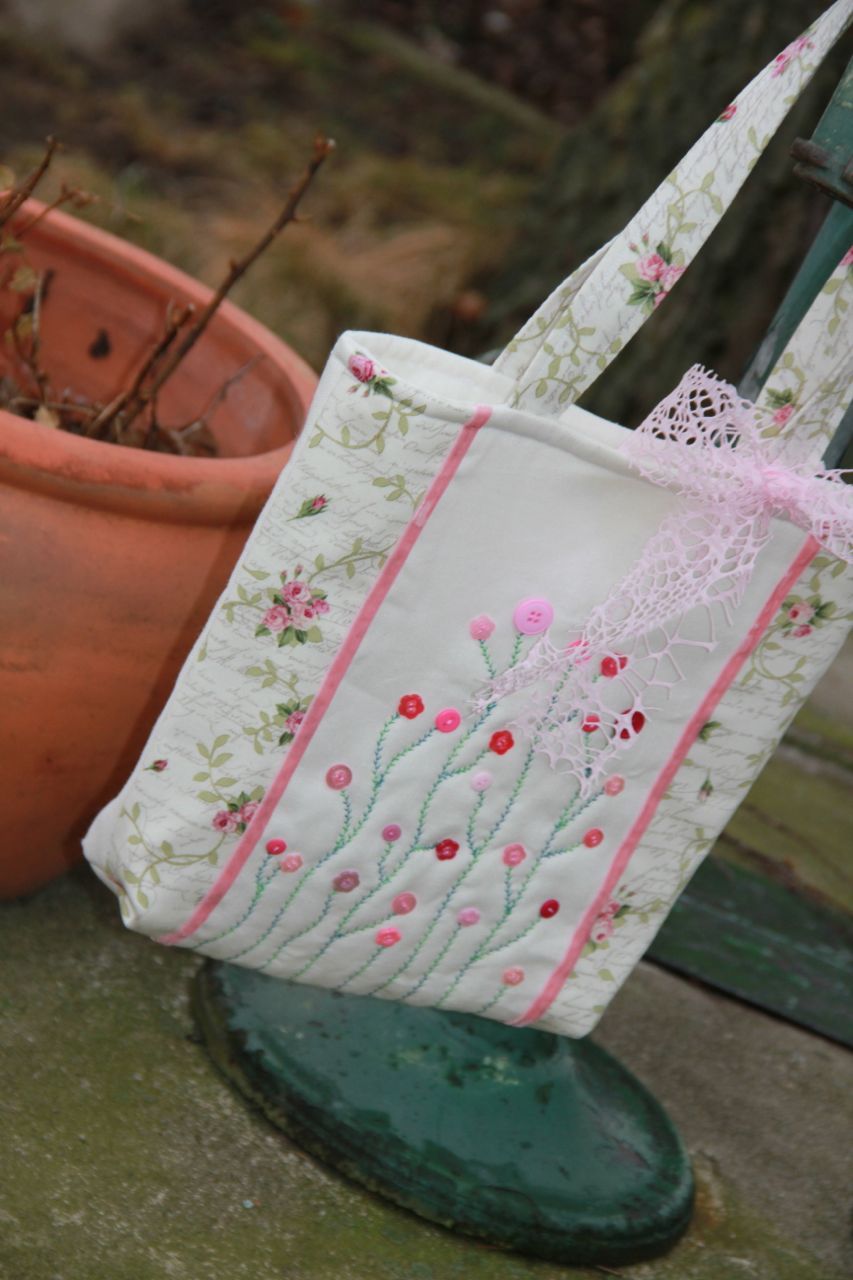
Today I would like to share with you my pattern for nice easy romantic bag.
supplies:
basic pattern is rectangle 34 wide, 35cm high but you can make square as well
– 70x34cm cotton fabric (one color) for outside
– 70x34cm cotton fabric for inside (one color)
– 15x60cm for handle – cotton fabric with roses
– 16x35cm cotton fabric with roses
– 70 cm ribbon the best is may arts velvet ribbon
– 120cm white strap (average 3cm)
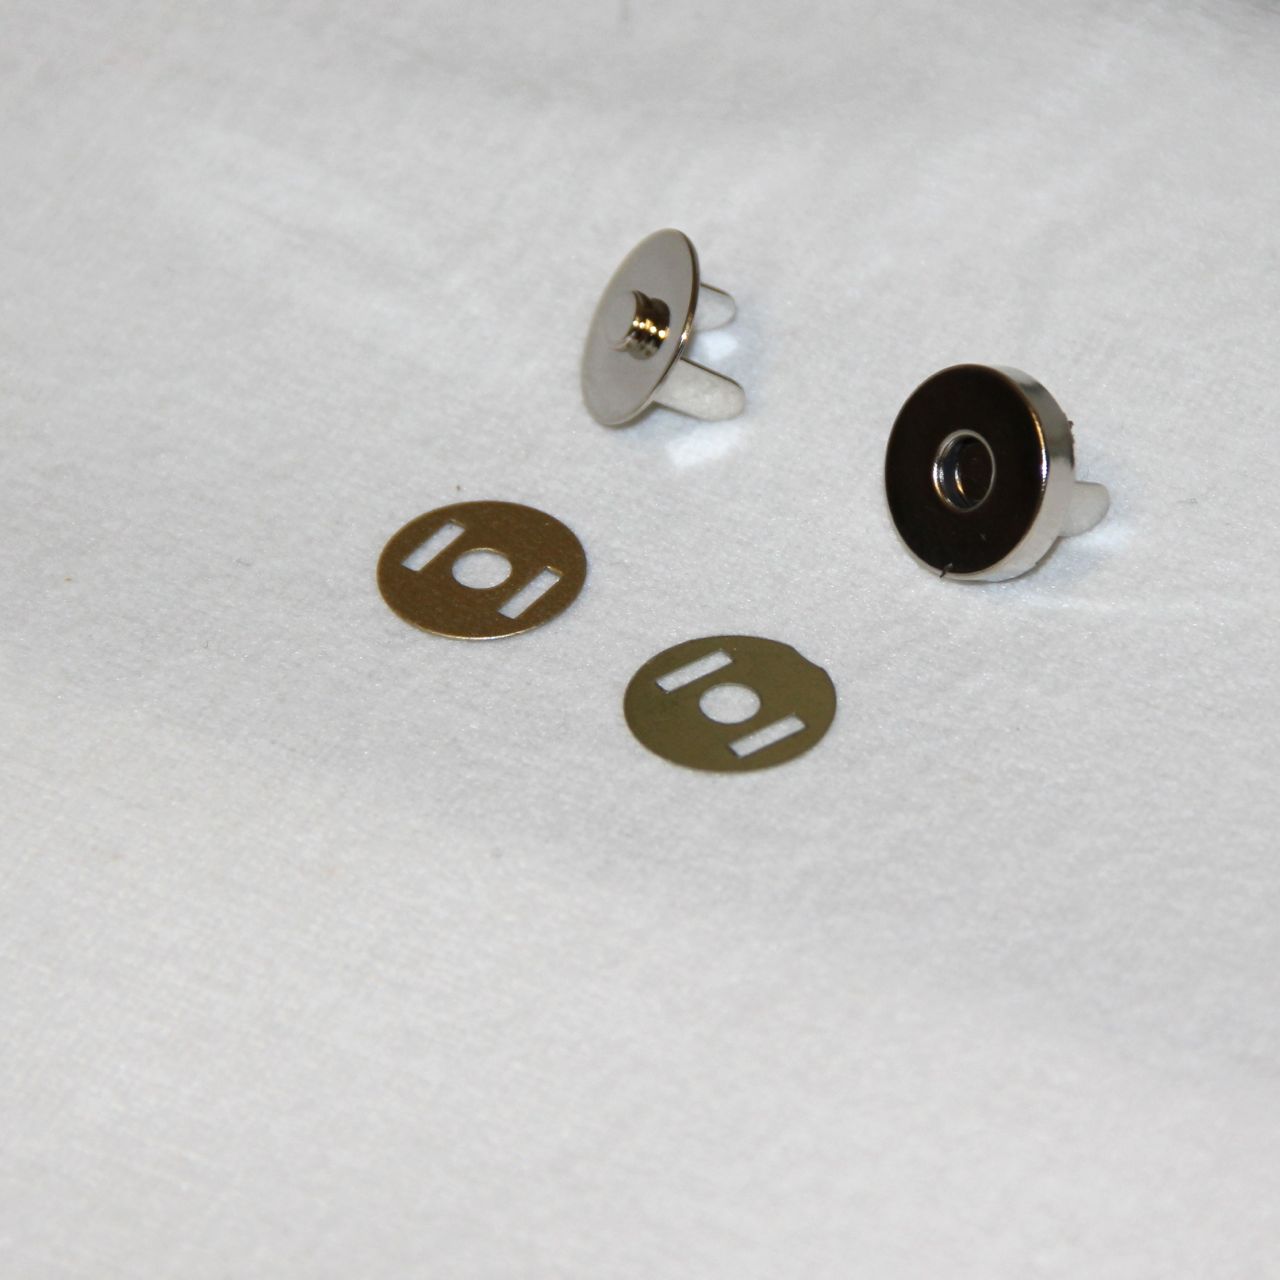
– 1x magnetic fasten
– 70x34cm webbig for sewing quilts – it make nice effect when it is under front side of bag
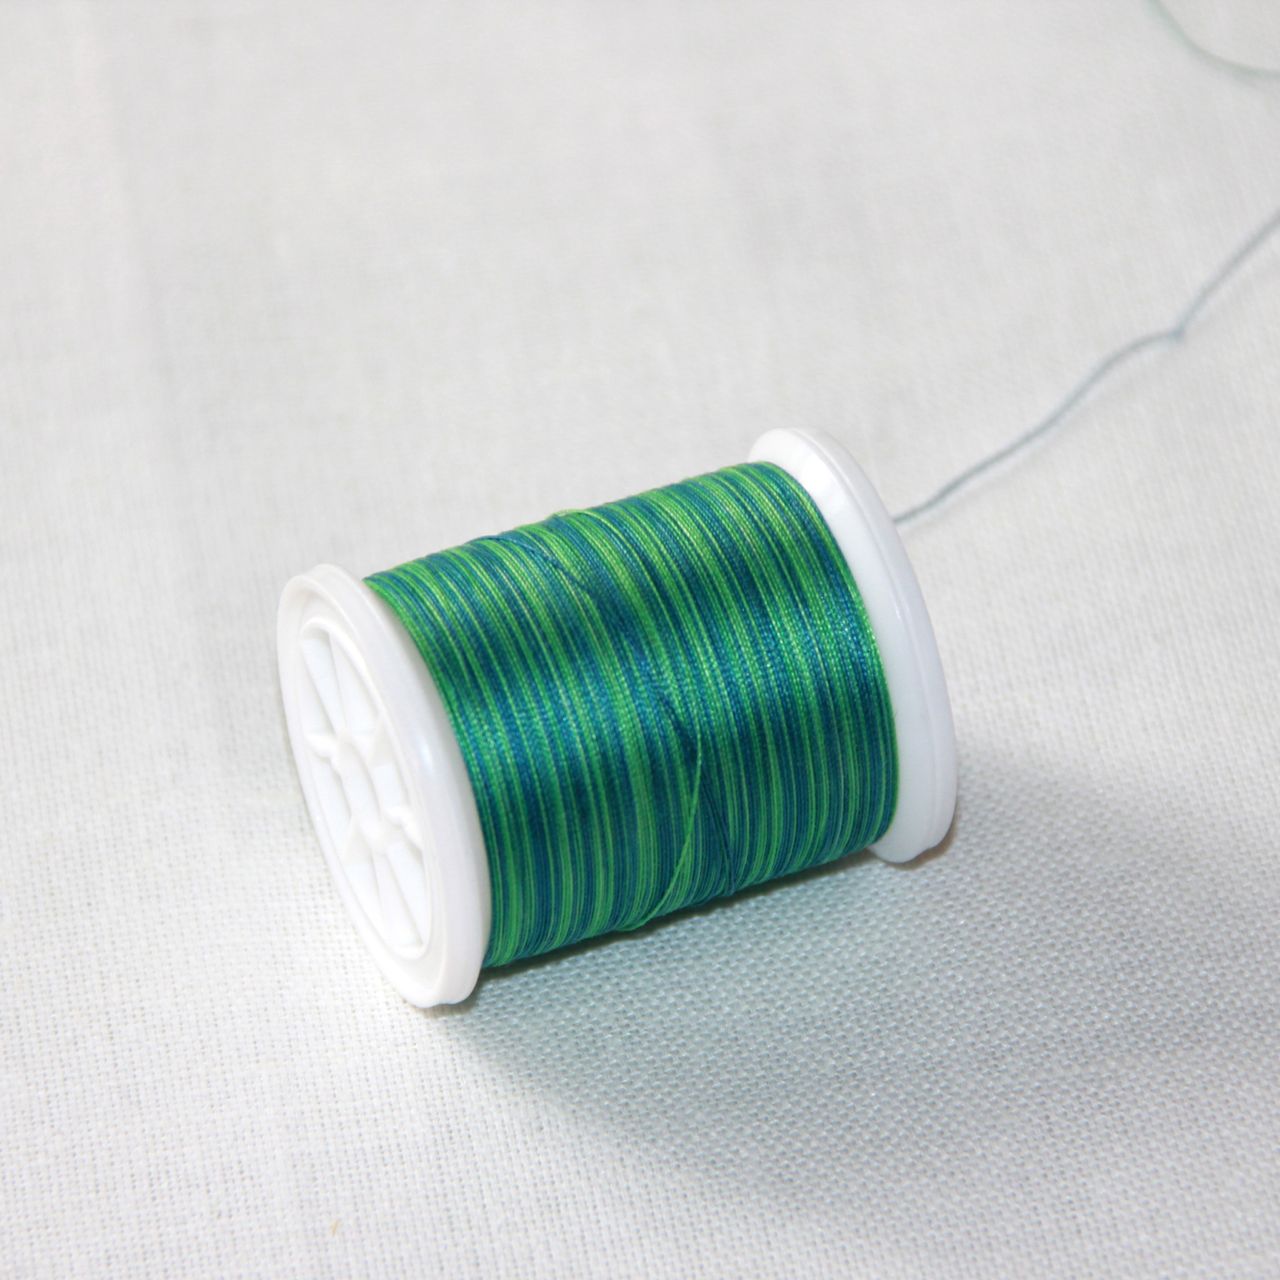
– many buttons and some nice thread the best is some multicolor
Instructions:
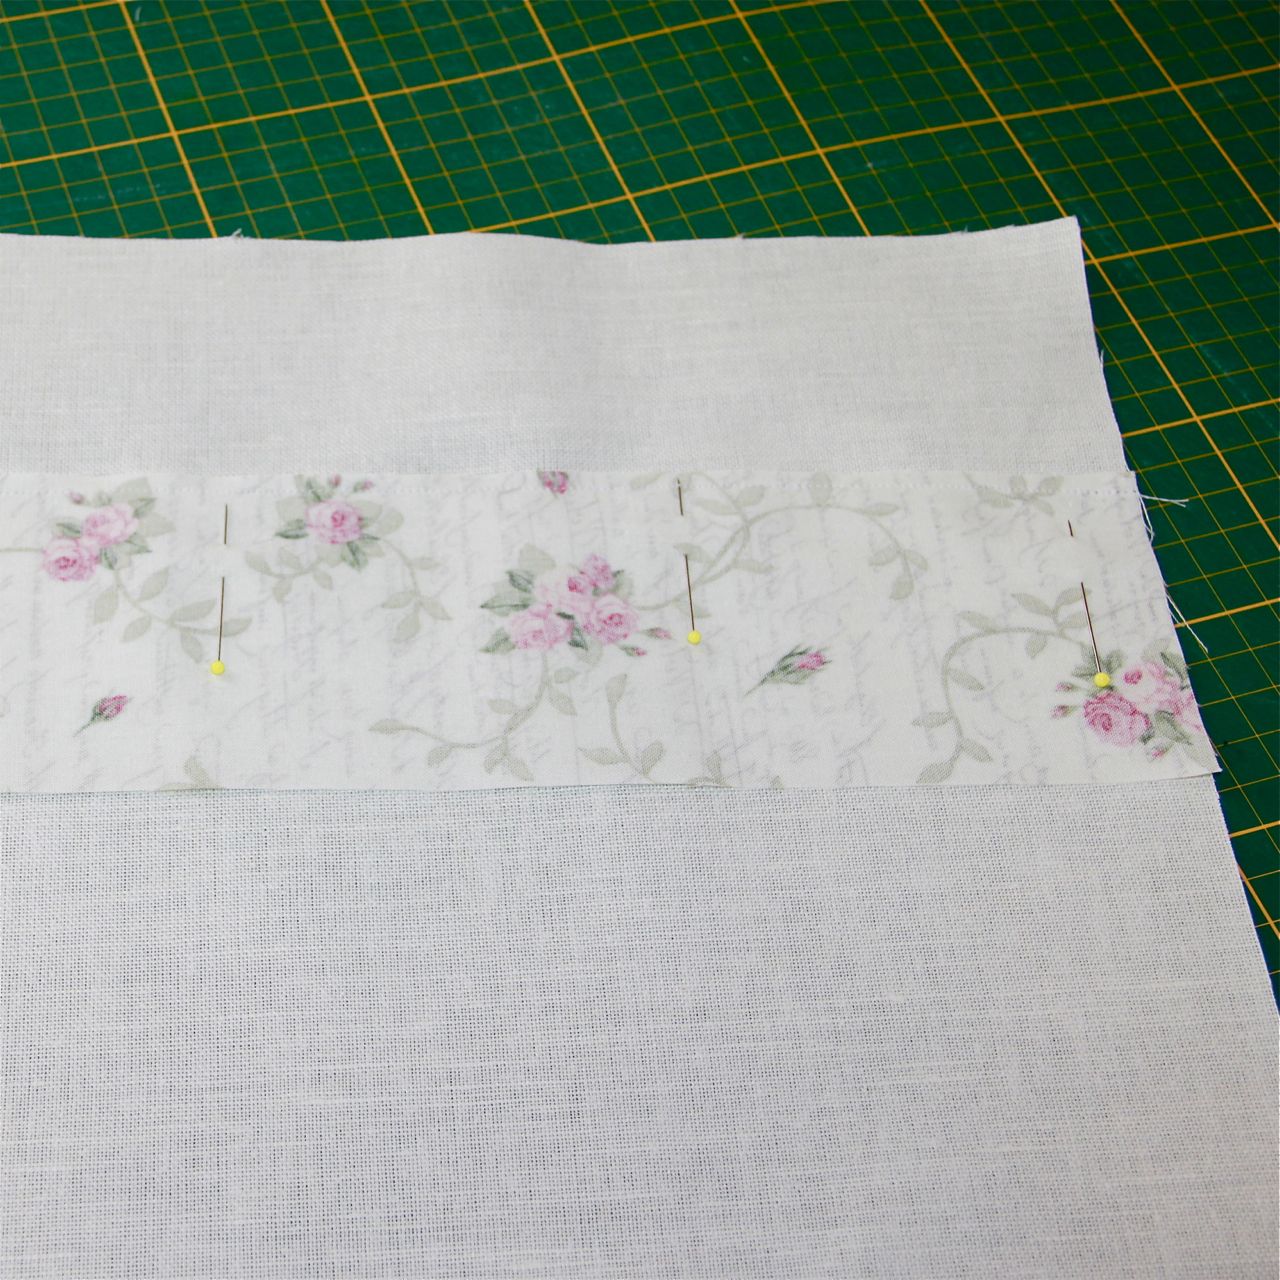
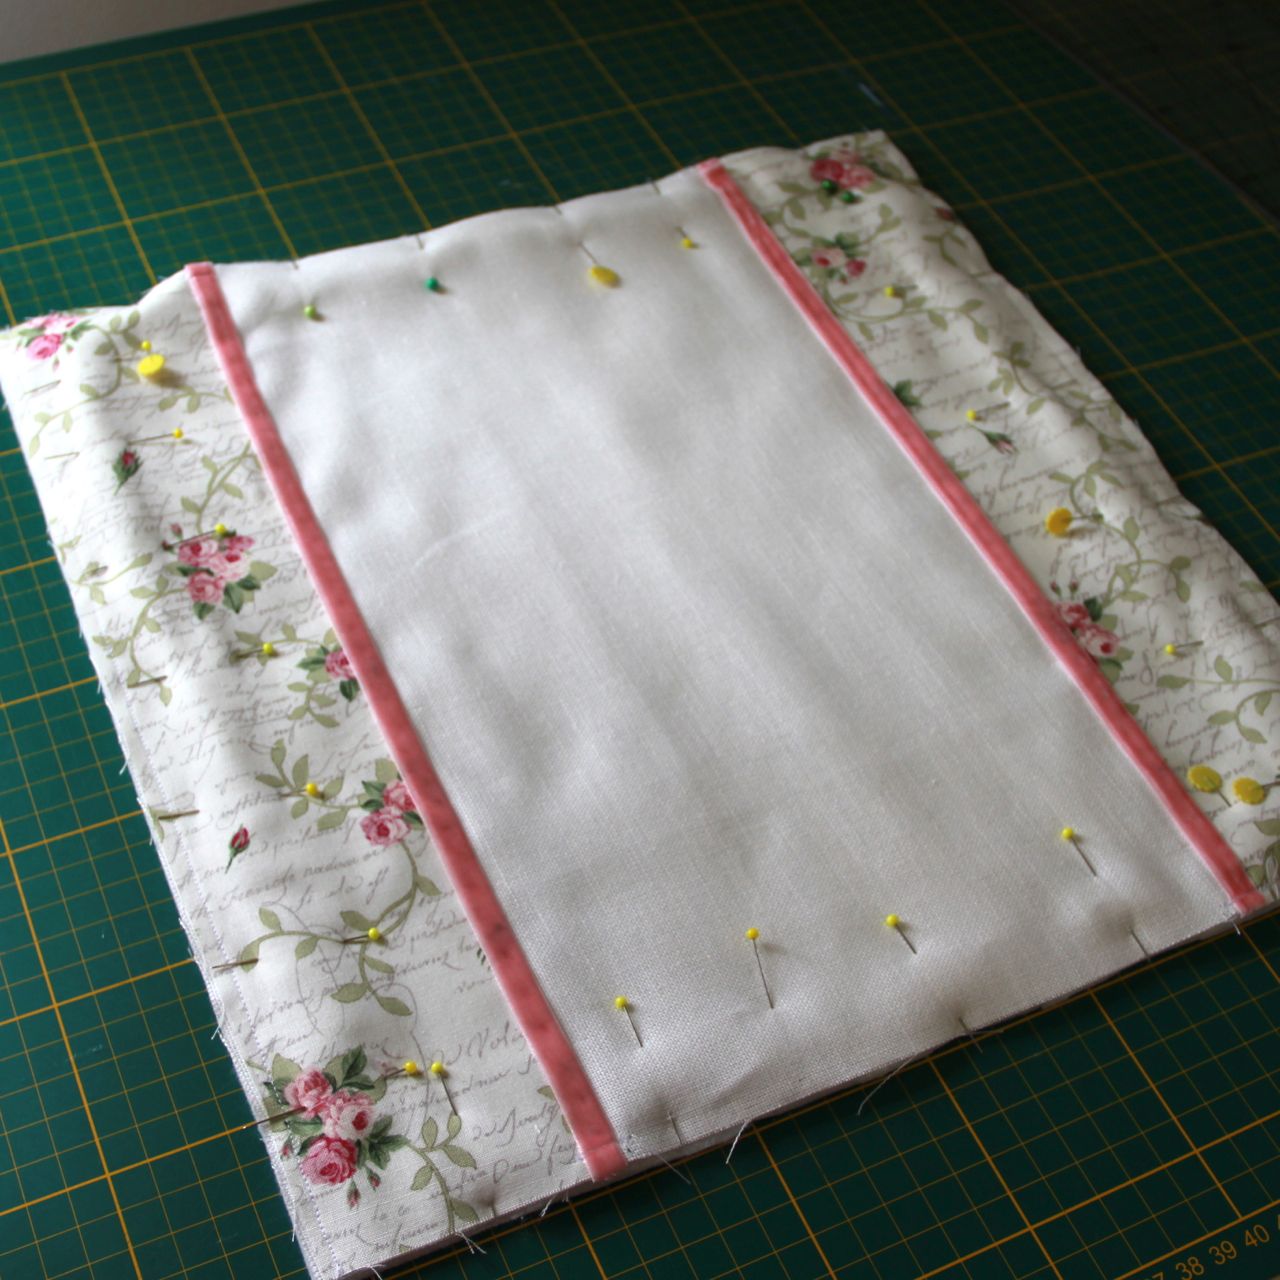
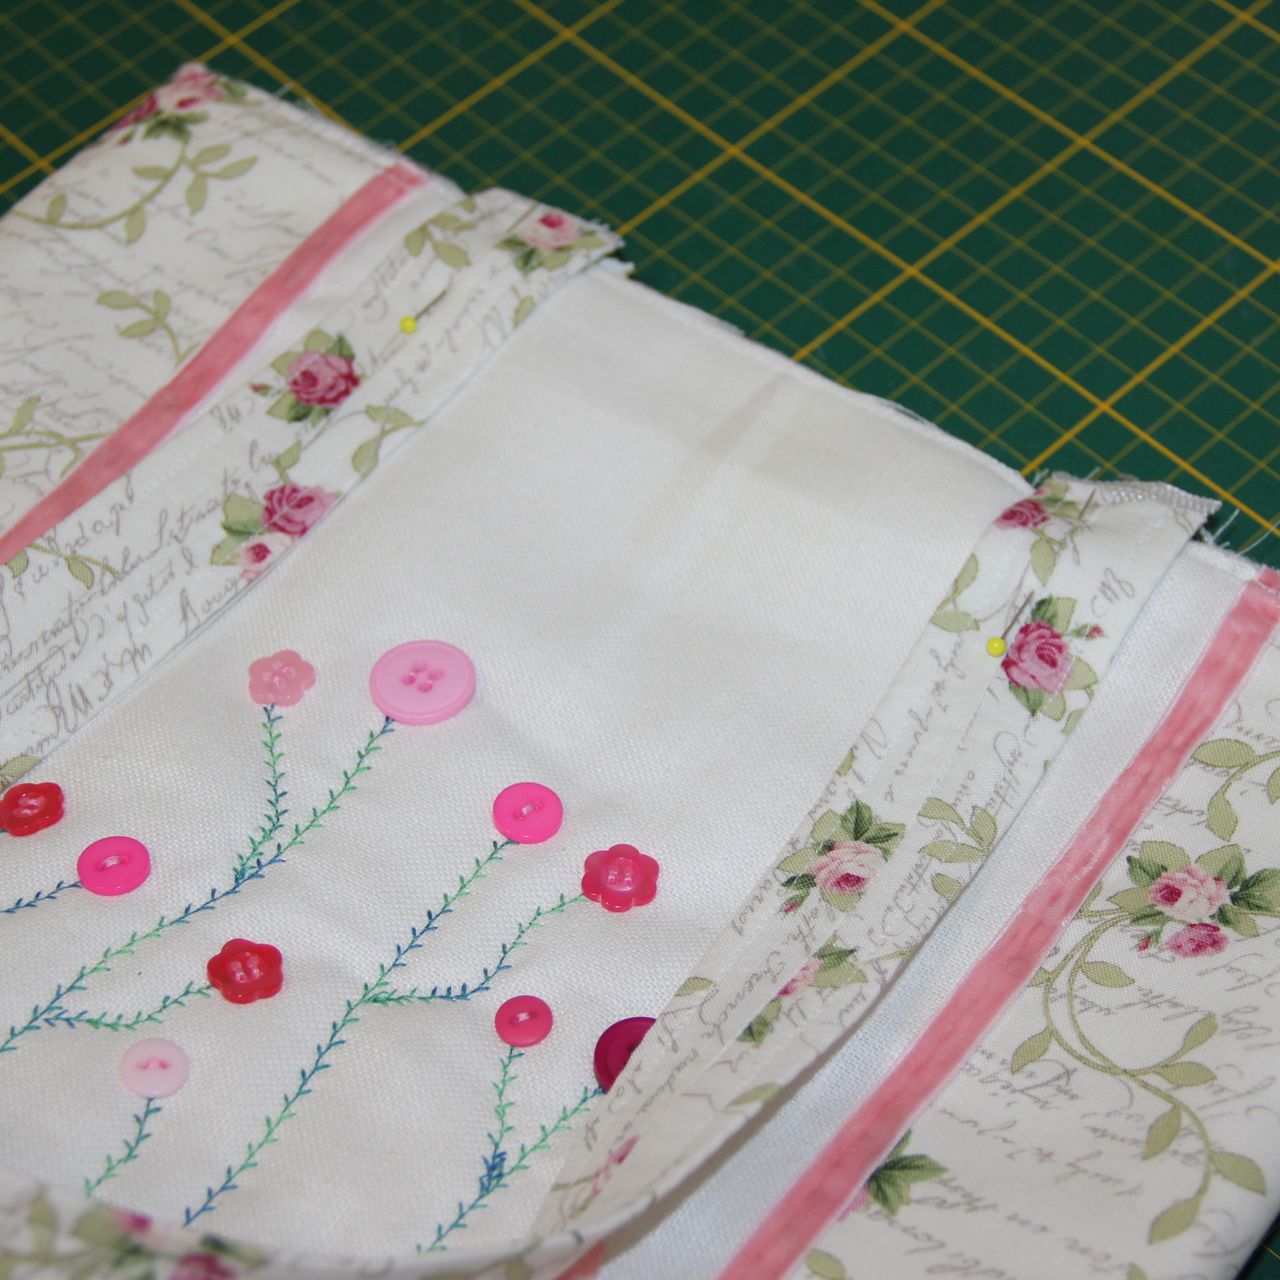
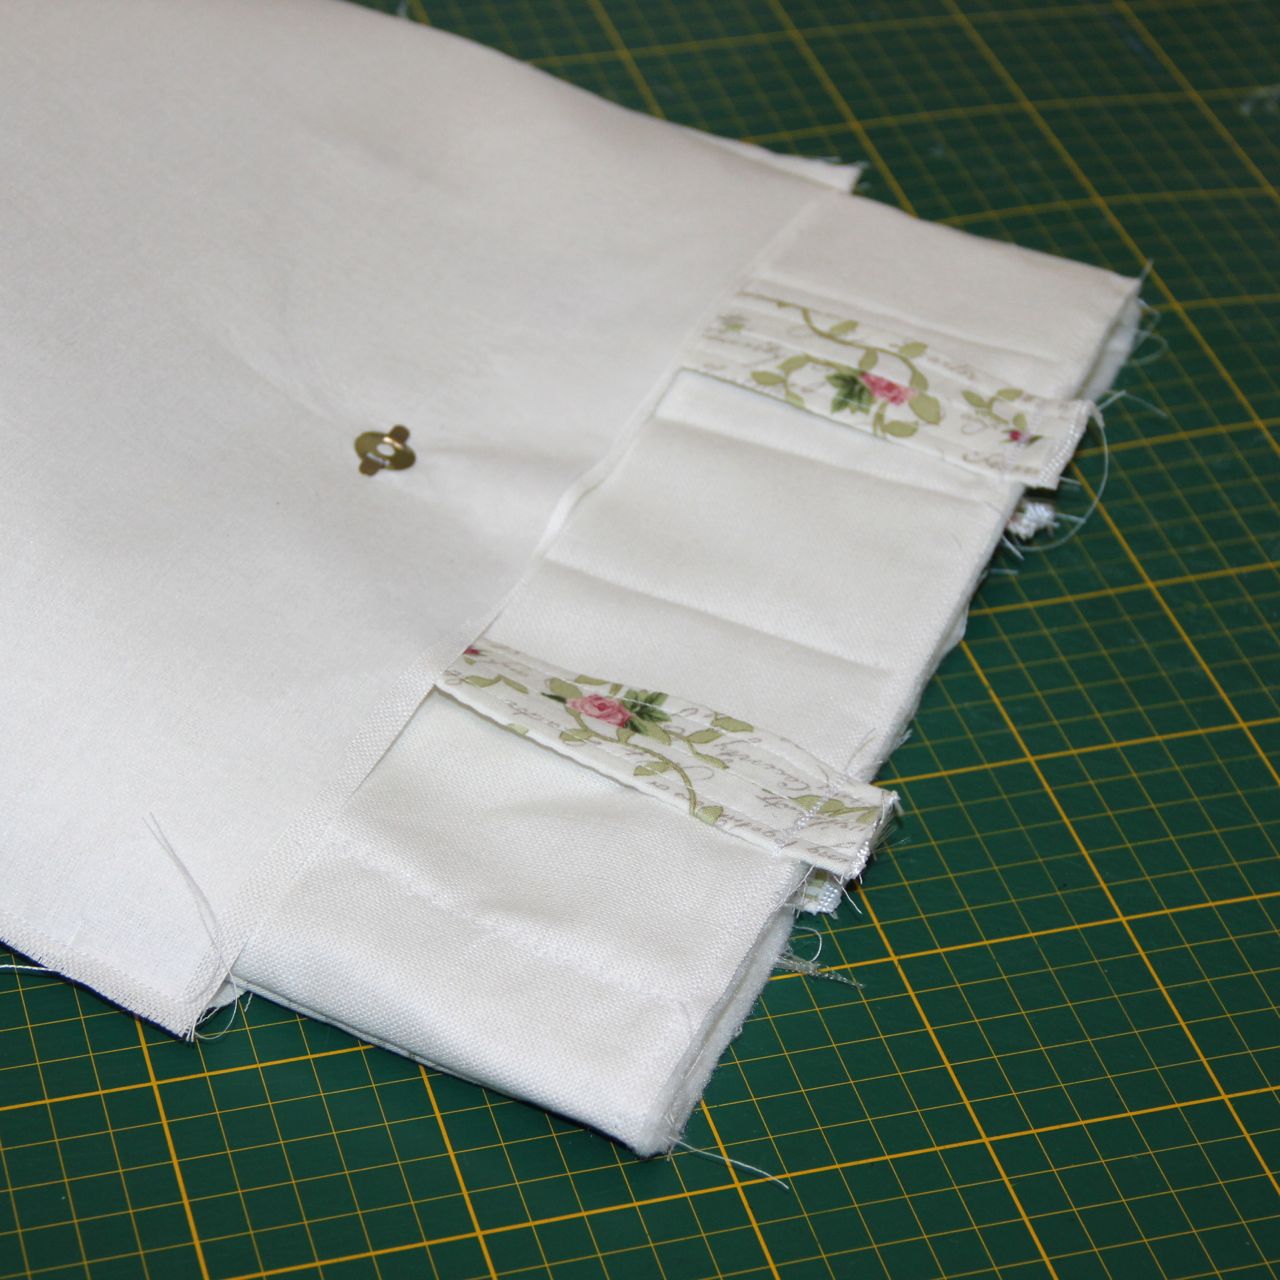
1. First we will prepare front side – on the right side fabric for front side (35×34 one color) sew on two stripes fabric with roses (each stripe has 8x35cm)
2. Than cover seam with velvet ribbon, you can glue it or sew it.
3. Around all sides of bag at wrong side sew on interfacing.
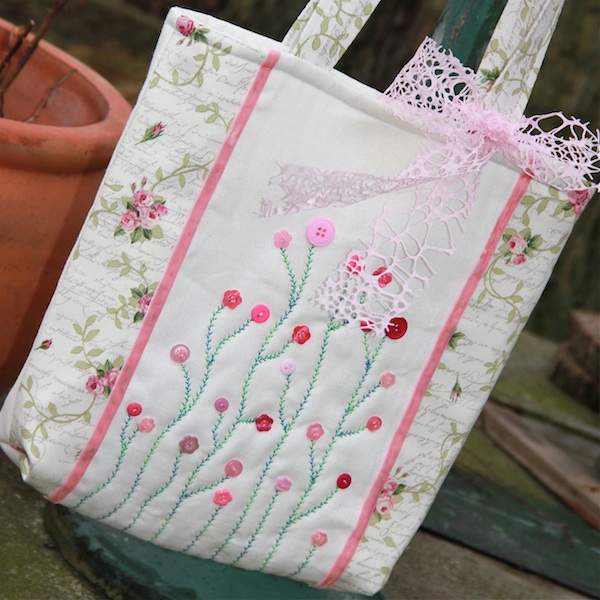
4. Now it is time for decoration – you can use any seam what you have at your sewing machine. Make on the front side of bag nice stitching – like flourish and at the end sew on buttons like flowers

5. At the all 4 main parts of bag cut out on the bottom corner – squares – around 3cm
6. Put right side together front and back side (front parts) and the same make with front and back side from inside part, pin it . Sew it together – sew 3 sides. With the inside part be careful you have to leave hole on bottom in the middle (around 15cm average) – it is hole for turning it into right side.

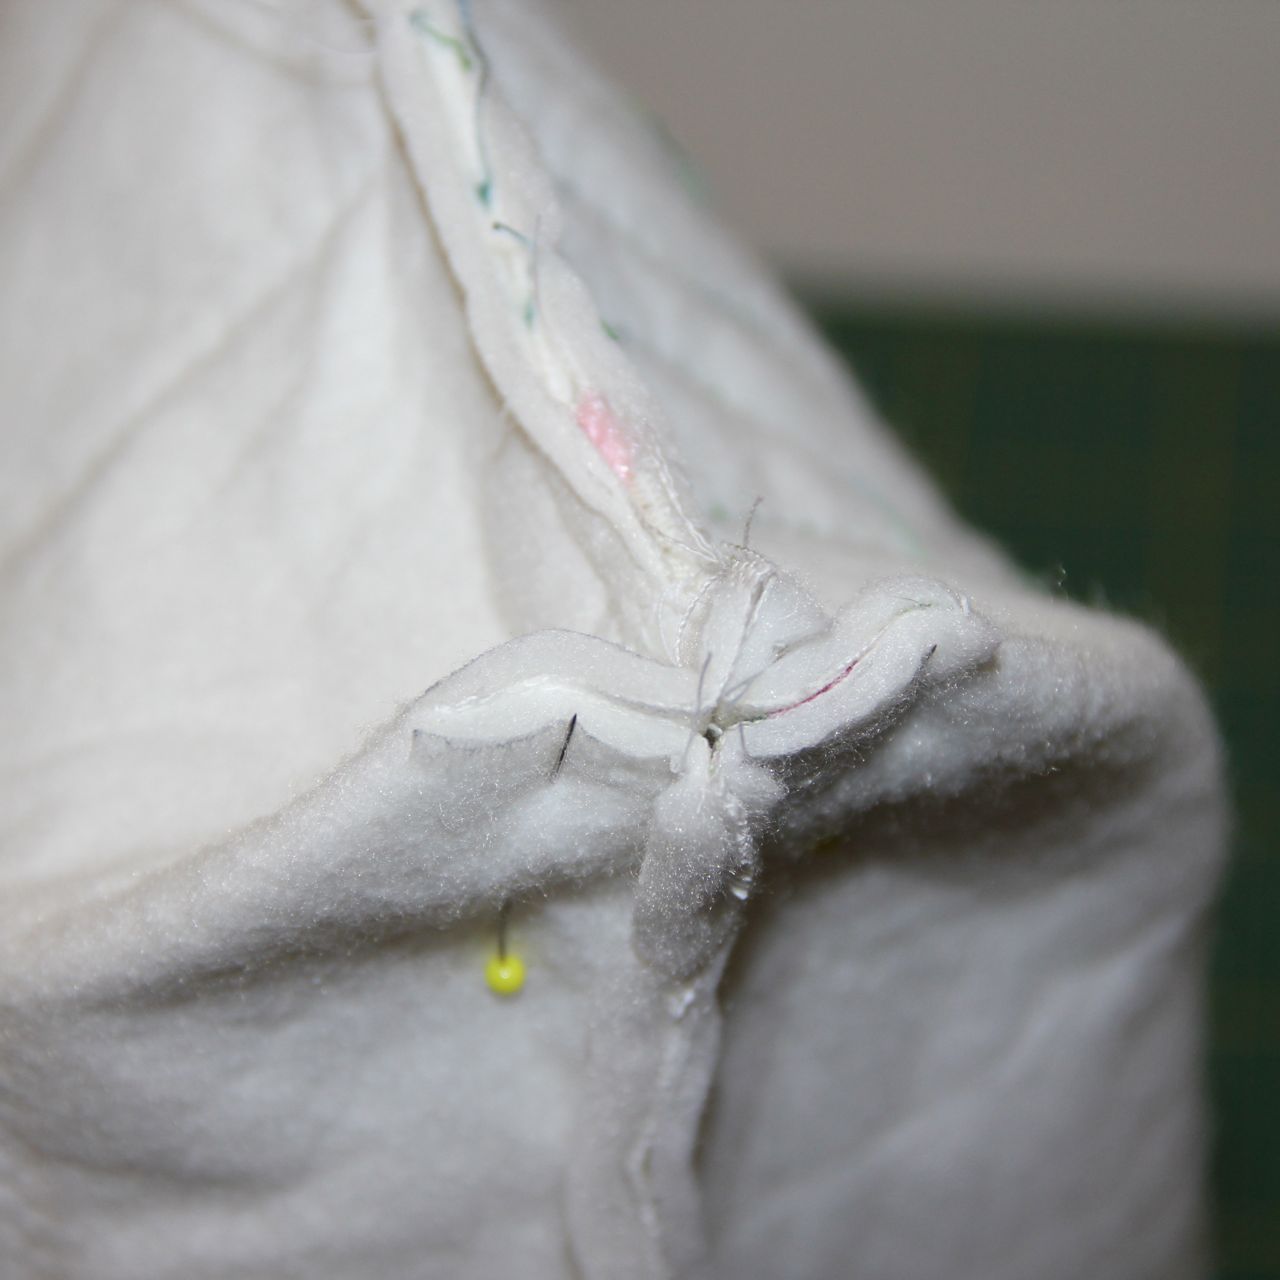
7. Take corners and squeeze it together, pin it and sew it. Make it at both inside and outside part of bag.
8. How to prepare handles: prepare 2 rectangles 7,5x60cm, fold it along long side wrong sides together at half and sew it together. Turn it onto right side and put into it strap.
Turn sewed front side of bag to the right sides and put handles on front side of the bag as you can see at photo and sew it. The same make at the back side.
9. If you can you can add magnetic closure. Just make holes for it and use it as usually.
10. And the final trick. Put the front side of bag into inside side of bag (as you see at the photo) and on the top sew it together. Now use hole on the bottom of the inside side of bag for turning front side out. Before you finish, sew hole. Than take inside side and put it into front side. You can make some nice stitch at the up side of finished bag, just to fix handles.
And here it is your final bag. For decoration I also added super ribbon from May Arts.
I hope you enjoyed this tutorial and if you will be sewing according it write me comment how was it. It is my first translation of bag pattern.
Have a nice day
Kate