Hi,
usual and basic question of everybody who have new Silhouette cutting machine is – how can I make vector cutting file from basic jpg or another picture. It is very easy and I am going to show you step by step how to.
This is my picture from free clipart.


1. save your picture in computer
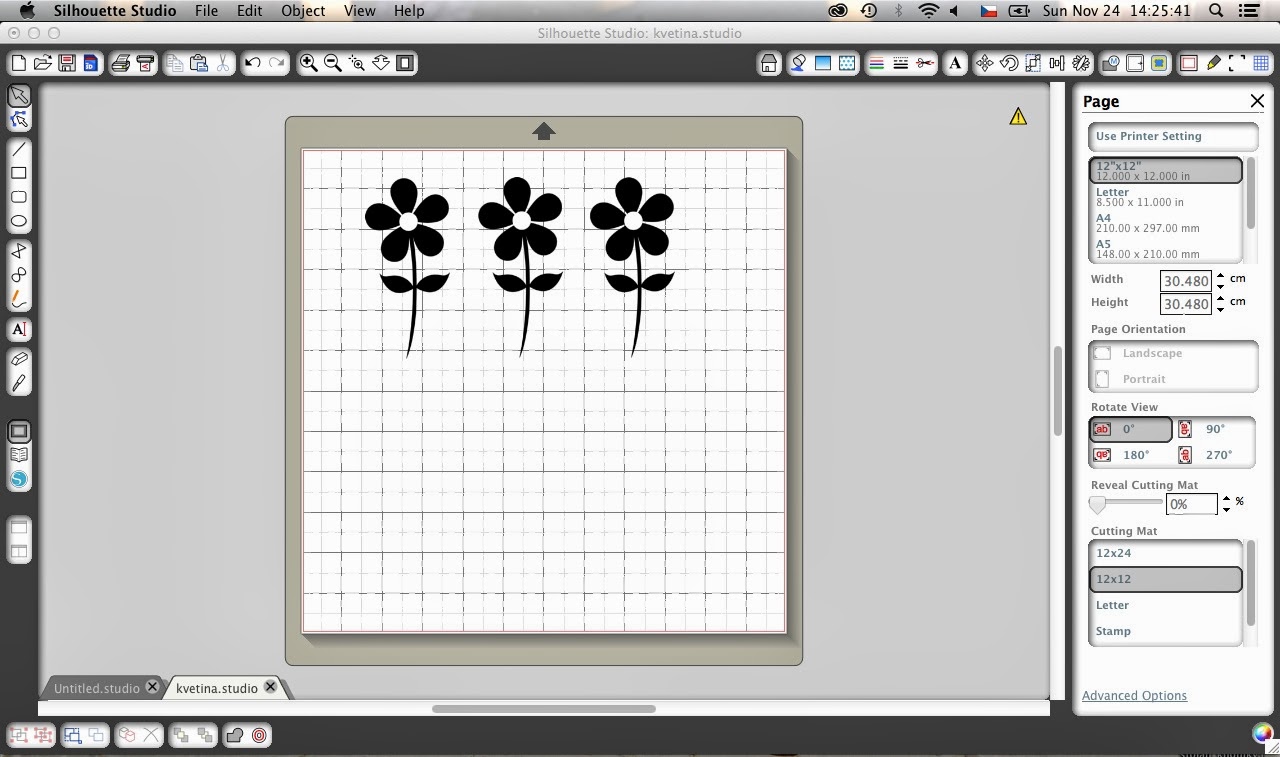
2. open picture in Silhouette programme – sometimes you can see little yellow triangle on right side, that means that picture is small and when you print it it will not have good quality. About this we do not have to care. We can work with basic small picture.
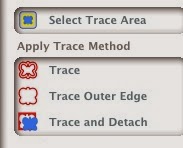
3.Than click on the icon at the right side – it is square with blue square inside or you can click in menu at OBJECT and TRACE (that is the same but icon is faster)
this is menu where we will work

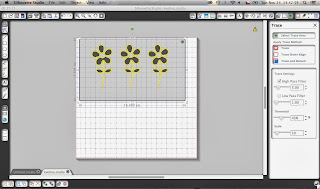
3. Click on SELECT TRACE IDEA and put the whole picture into rectangle (like normally for example when you want to make it smaller)
the picture turns little bit yellow

4. It is necessary for tracing to have whole picture yellow – so now it`s time to work with FILTERS (I am not professional but usually I click off high pass filter and suddenly is my picture yellow)

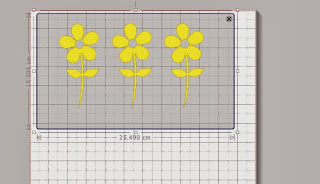
5. when picture is yellow click on TRACE – you can see also another options of tracing
Here it is – you can see red line around flowers.

When I move black flowers aside here is my cutting file.

Now it is very easy just delete black flowers and you can play with your flower cutting file. You can with this instructions make vector file from any picture that supports Silhouette program.
I hope you enjoyed this tutorial and it is helpful for you
have a nice day
Kate

Thank you I am new to my silhouette